Showing posts with label stencil. Show all posts

Wednesday, September 6, 2023

Apple Pie, Anyone?


Hello friends! Of all  the vehicles to show card craft making, posting on my 
blog is my favorite. I get to show you the how's and the what's, including lots
of details, my favorite part of creating a card!


The Greetery's latest,  Harvest Fest, came fast, and I've been playing with it
ever since! The pie die got my attention during the release, and I watched  
Angelica's video 3 times! So full of ideas!


My first 4 'pies', baked and ready for cards.


No. 5 pie begged for a card, so I went with apple, added some cinnamon
spice, and Granny Smith apples, and gave it a background from Fall Folk
Stencil.


A few sugar sprinkles,  and my pie is done!

More pies coming up! 
Have a delicious week, my friends!


Wednesday, February 15, 2023

The Flower Challenge #77 Reminder: Use Your Latest Stamps or Dies


Hi there. I'm here with a card to remind you... the Flower Challenge asks us to use
our latest stamps or dies.


My latest from Altenew was the Craft-A-Flower Open Peony die set. 


Hope you're playing along. Who doesn't have a newer stamp or die, and 
needs an excuse to use it? Play along for another 2 weeks.
Enjoy your week!


Friday, October 21, 2022

The Greetery's Stencil Scapes Winter


I finally received my Greetery order, and spent the day with Stencil Scapes Winter. 
The first card was a 'follow the stencil suggestions' for color.


I added a banner sentiment from Banner & Bough, and dusted the card with droplets
of white paint, simulating a snowy day. 


The process of stenciling went quickly and I wanted to play with the sky 
colors.


Some of the Greetery's designers did a pink sky, and that looked fun, so I added pink
then yellow Distress Oxide Inks.


I arched the sentiment from Sentiment Suite Christmas in my Misti before 
stamping, and added a frame. I also tucked in a few bits of greenery in the bottom 
corners from Banner & Bough. 


Did another pink & yellow sky, again added a red & white candy cane frame, (do you
remember Betsy's Make It Market All Through the house? The paper is from that kit)
and made my own banner to fit the sentiment (Sentiment Suite Christmas).

On a roll now, so did another card.


I added Frosty Pines die cut trees to the 4th card, and framed it also.


This time using the banner from Christmas Time Sentiments.


All frames used are listed below, and are Oldies from PTI.
I gave this card a spray of Sheer Shimmer Sparkle and sentiment die cut
from Christmas Time Sentiments.


The 6th and last card, I like best. I just seemed to get the line up right, and colors were 
what I wanted. The snow droplets are from Nuvo white Crystal Drops.


I will probably cut off the wings from the Fir trees before mailing. I'm ready to go with
my envelopes. The holidays are always a busy time, and I love that stenciling is so quick
and easy, and this scene makes a darling card! 

Hope I inspired a bit. Enjoy your day, hope it's a crafty one!

Frames: PapertreyInk Coverplates
Pretty Frames, Nesting, Infinity Frames


Monday, September 26, 2022

3 Lattes, Please...


Hi there, and Happy Holidays... almost.
Seriously, with Christmas season sneaking in, my craftroom is all set for Holiday card making.


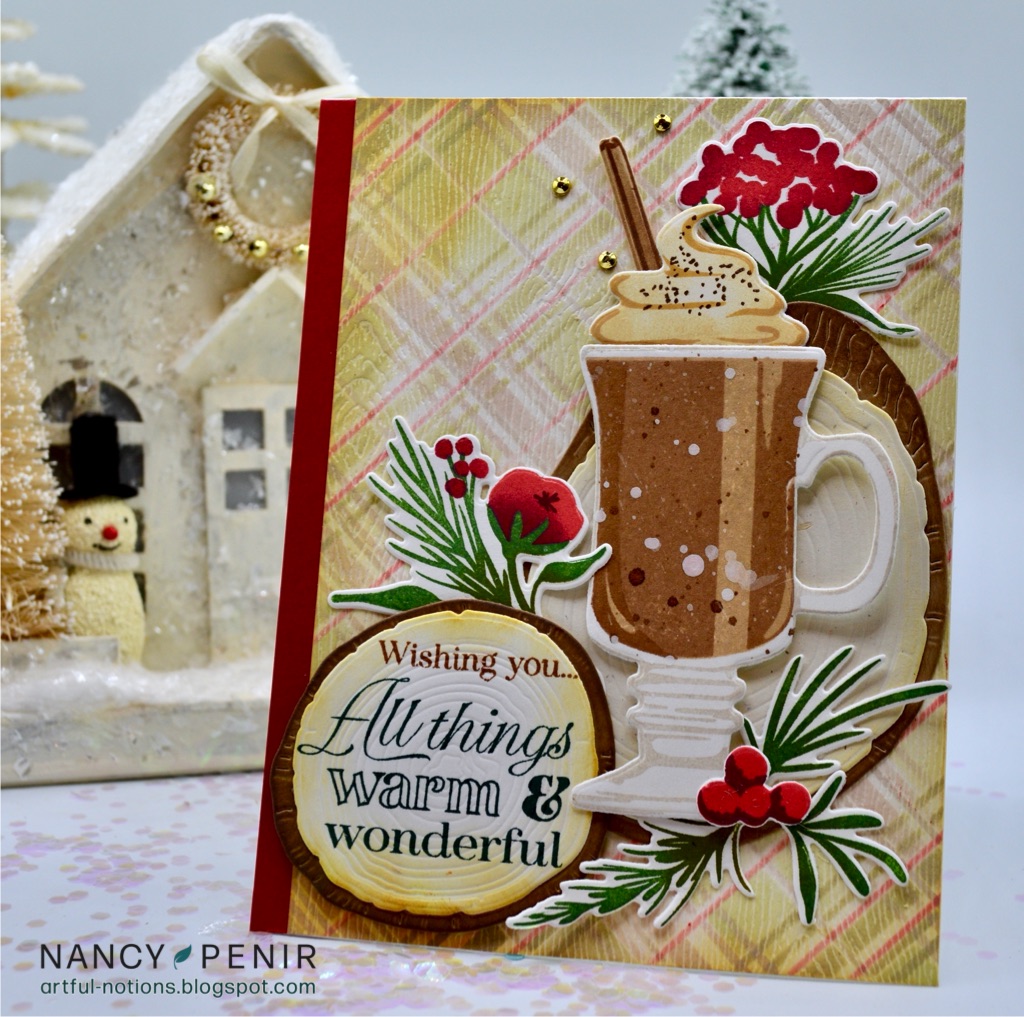
I transformed the new, Warm and Wonderful from the Greetery,
into 3 Christmas card greetings.


This first card mounts the coffee mug on The Greetery's large Wood Slice, and
I stamped my sentiment on the smaller one.
Background was created with Tartan Builder Diagonal. I also added a few florals
from Merry Sprigs.


With a background made from Tartan Builder Diagonal again, this mug is 
mounted onto a vellum oval, and the sentiment from Hug in a Mug is 
embossed onto it.


I added a floral bouquet to this one made from Merry Sprigs, and some greens and berries
from Warm & Wonderful. Frosted Frames finished the card.


The third card is stamped with The Greetery's Print Shop Calico, and stenciled with 
reds and greens. The little tag is from Hug in a Mug Sweets. The oval is stenciled 
with Berry Branch, one of my favorites to use on cards. Stitched framed is from 
Spellbinders.

Back to the craft room, it's going to see a lot of me for the next few months!


Wednesday, May 15, 2019

The Card Concept: Mosaic Madness


Hey cardmakers, it's time for a new challenge at the Card Concept.
Here's your inspiration photo:


So many ways to go with this one. I chose to focus on color, and
the mandala style.

Here's my inspiration for you


One focal image, using the inspiration photo colors, and PTI's Flower Mandala.

Here's how I created my own background:


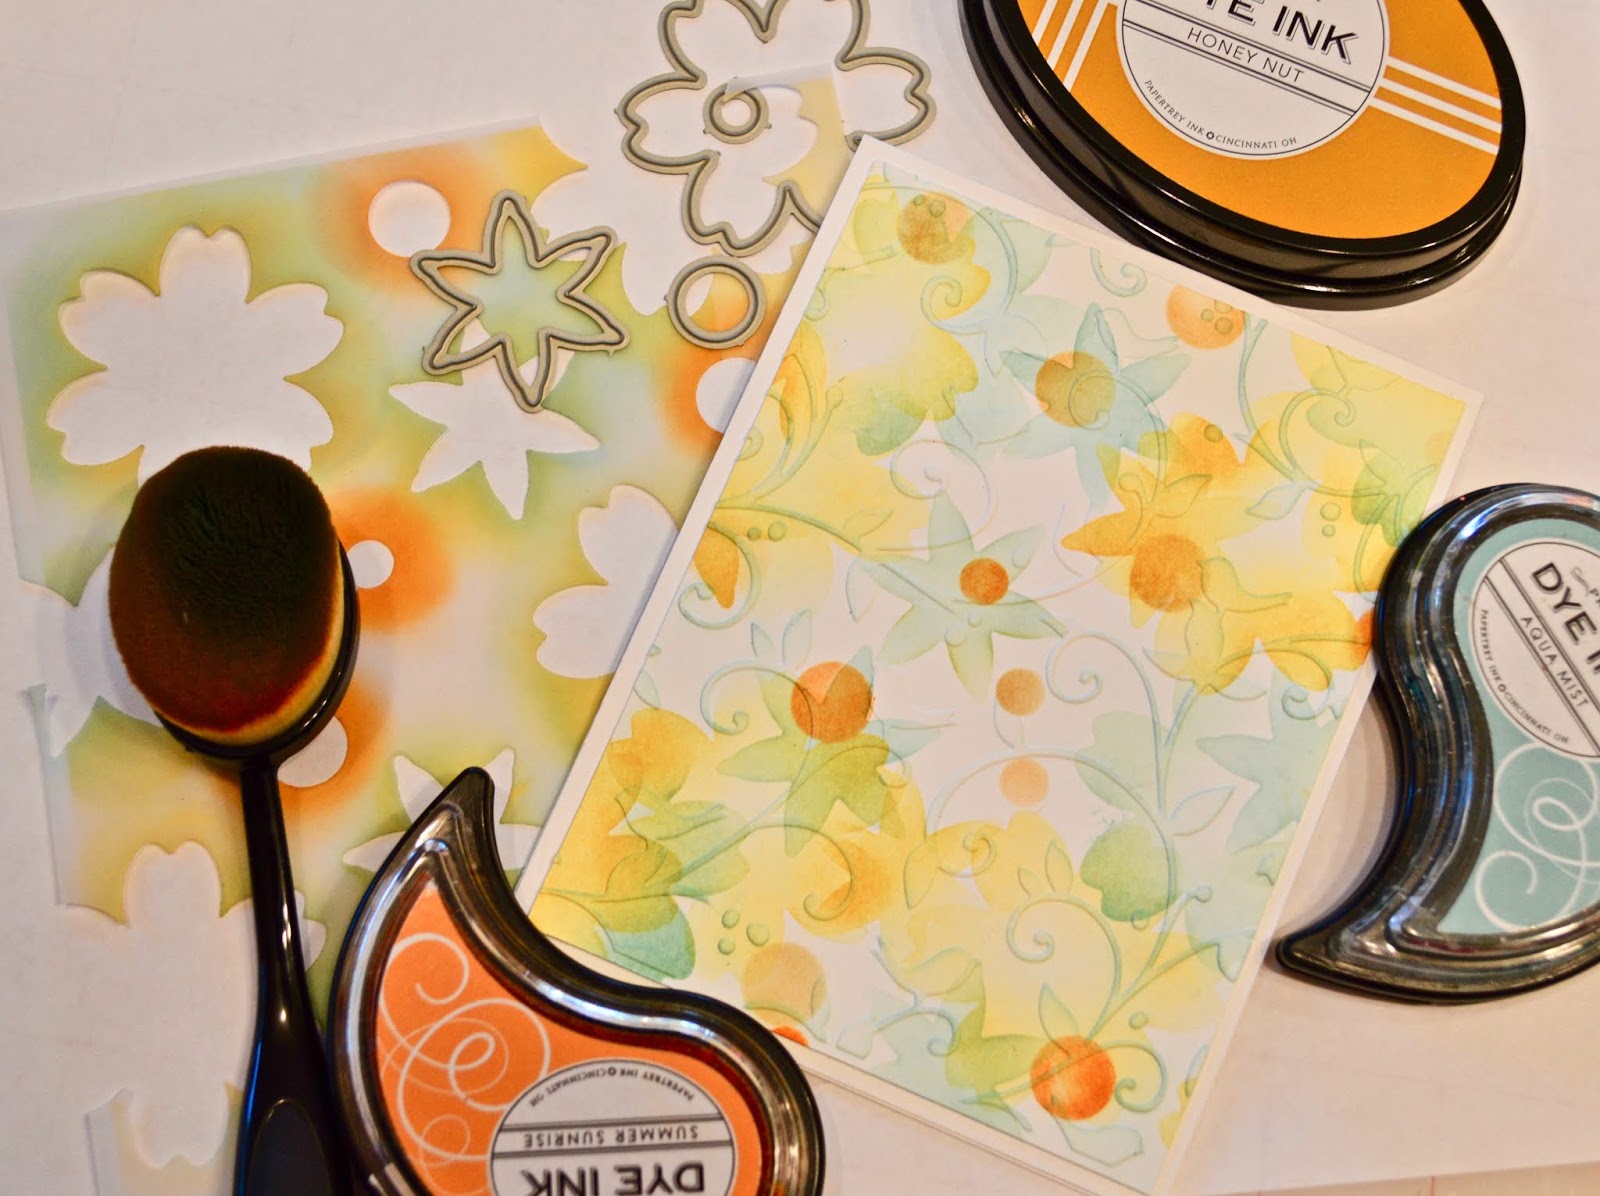
I used the dies from the Flower Mandala and cut several images from vellum.
Using 3 inks, and the vellum as a stencil, I inked, and changed the position of
the vellum overlapping colors and images. When done, I used a Cuttlebug embossing
folder to give some texture.


I would say this is an elegant and layered card. 

I'd love to see how you interpret the inspiration photo. Color? Shape? 
Layout? Or just a style you love. 

Have a wonderful week!


Tuesday, November 27, 2018

Dreaming of a White Christmas


Make It Monday this week is revisiting one of my favorites, Laurie Schmidlin's
'Love of Layers'. 
Laurie shares several ways to add to a cards rich layering.
I played with Betsy's new 'Fairy Tale Christmas', and the stencils that match
the set.


Betsy thought of so many details. From the stencils to popping up the die cuts, layering
is easy. The layer of snowy stencil was done with Nuvo Glimmer Paste. 
Just may mass produce this one, it's so much fun to play with all the layers!
Hope you're doing well with your Christmas card stash. Enjoy your week!